This tutorial lesson shows how to add a simple event to the Aria Quickstart demonstration’s button.

Pressing the “Make Changes. Generate. Run.” button will hide the MPLAB Harmony Logo image. Releasing the button will restore the logo. (For details on how to load, build, program, and run this project, see MPLAB Harmony Graphics Library Help > Graphics Demonstrations > Demonstrations > aria_quickstart.)
The steps are as follows:
1. Make a copy of the ./gfx/apps/aria_quickstart folder on your hard drive.
(Located at .\gfx\apps\aria_quickstart\firmware\aria_qs_e70_xu_tm4301b.X)
Then Load the copied aria_quickstart project into the MPLAB.X IDE.
2. Launch the MPLAB Harmony Configurator:

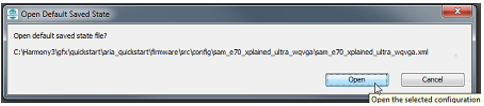
3. Open the project’s default saved state:
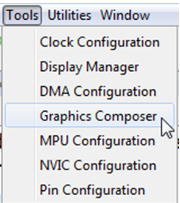
4. Select the Graphics Composer from the MHC Pull-Down Menu which will open a new window for the MPLAB Harmony Graphics Composer:
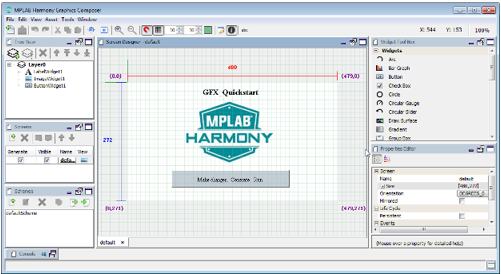
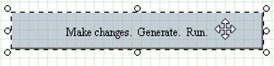
5. Select the Composer Screen Designer panel and select the ButtonWidget1 (“Make changes. Generate. Run”):
6. Under the Properties Edtor panel on the right side of the screen, the properties of ButtonWidget1 should appear. Make the button Toggleable:
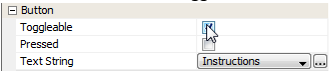
7. Enable the Pressed and Released events:

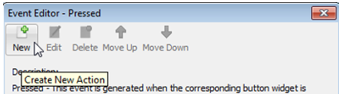
8. Click the button on the right side to bring up the Events Editor for the Pressed event and create a new action.
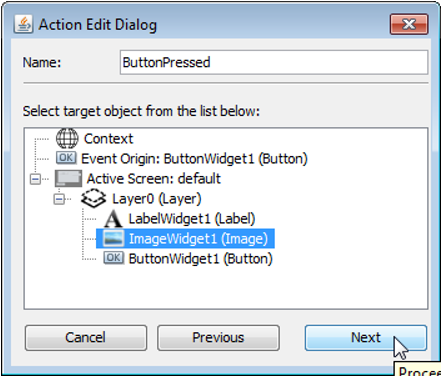
9. When the Action Edit dialog appears. Enter the name ButtonPressed and click Next.
10. Now select which widget the ButtonPressed event of ButtonWidget1 affects. This event can affect any of the display's widgets. However, the objective is for the ButtonPressed event to change the visibility of the ImageWidget1 widget (MPLAB Harmony Logo).
Therefore, select ImageWidget1 and click Next:
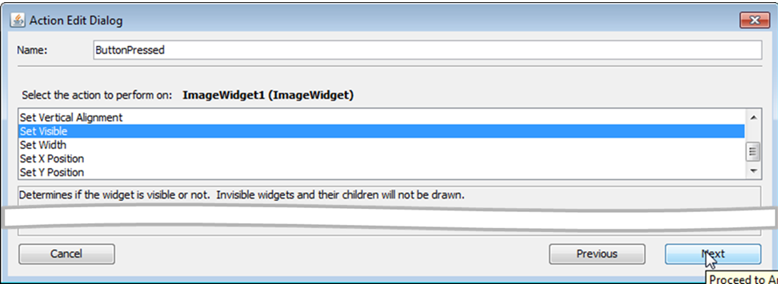
11. The next dialog window provides instructions to select the action associated with this event. There are many choices, from Adjust Position to Set Y Position, all of which are related to properties of the image widget. Select Set Visible as the action, and then click Next:
12. Set the argument for the Set Visible action by disabling visibility:

Then select the Finish button. This action resurfaces the Event Editor – Pressed dialog. Click on OK to close this dialog.
13. Follow the same steps for the Released event, but instead create a new event named ButtonReleased. Use the same Set Visible action as before but leave the visibility argument enabled. This will restore the logo’s visibility when the button is released.
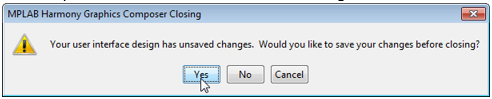
14. Close the Graphics Composer window and save the new design.
15. In the MPLAB Harmony Configurator (MHC) window save the new configuration, since it has been modified. Generate code for this new project configuration by selecting the Generate icon
(  ). Select USER_ALL as the Merging Strategy, since a review all the changes made to the graphics design is not necessary. Then select the Generate button to generate the new code that implements the events that have just been added.
16. Select the Run Main Project icon ( ) to build, load, and run this new configuration.
17. Pressing the screen’s button should hide the logo and releasing the button should cause the logo to reappear.
Exploring the code:
Double click on the libaria_events.c file to examine the graphics events just created:
Exploring the code:
Double click on the libaria_events.c file to examine the graphics events just created:
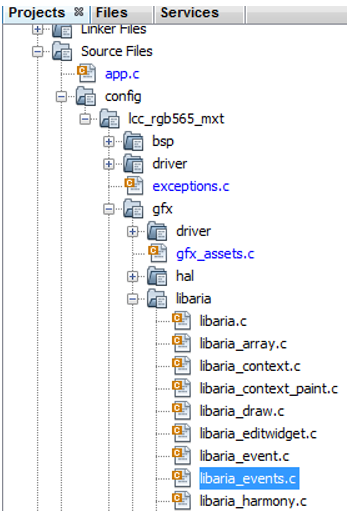
(This file is located in .\aria_quickstart\firmware\src\config\lcc_rgb565_mxt\gfx\libaria folder.)
The two events are defined in:
#include "gfx/libaria/libaria_events.h"

// ButtonWidget1 - PressedEvent
void ButtonWidget1_PressedEvent(laButtonWidget* btn)
{
    // ButtonPressed - Set Visible - ImageWidget1
    laWidget_SetVisible((laWidget*)ImageWidget1, LA_FALSE);
}

// ButtonWidget1 - ReleasedEvent
void ButtonWidget1_ReleasedEvent(laButtonWidget* btn)
{
    // ButtonReleased - Set Visible - ImageWidget1
    laWidget_SetVisible((laWidget*)ImageWidget1, LA_TRUE);
}
The MPLAB Logo image is created in the ScreenCreate_default function found in libaria_init.c.
(Located in the same folder as libaria_events.c):
static void ScreenCreate_default(laScreen* screen)
{
    laLayer* layer0;

    layer0 = laLayer_New();
    laWidget_SetPosition((laWidget*)layer0, 0, 0);
    laWidget_SetSize((laWidget*)layer0, 480, 272);
    laWidget_SetBackgroundType((laWidget*)layer0, LA_WIDGET_BACKGROUND_FILL);
    laLayer_SetBufferCount(layer0, 1);
    laLayer_SetVSync(layer0, LA_FALSE);

    laScreen_SetLayer(screen, 0, layer0);
        .
        .
        .
    ImageWidget1 = laImageWidget_New();
    laWidget_SetPosition((laWidget*)ImageWidget1, 113, 39);
    laWidget_SetSize((laWidget*)ImageWidget1, 242, 150);
    laWidget_SetBackgroundType((laWidget*)ImageWidget1, LA_WIDGET_BACKGROUND_NONE);
    laWidget_SetBorderType((laWidget*)ImageWidget1, LA_WIDGET_BORDER_NONE);
    laImageWidget_SetImage(ImageWidget1, &NewHarmonyLogo);
    laWidget_AddChild((laWidget*)layer0, (laWidget*)ImageWidget1);
        .
        .
        .
}
One might ask whether it would be more “efficient” to delete the image widget instead of setting it to be invisible and then recreating it again to make it visible. Launching the Heap Estimator tool from the MPLAB Harmony Graphics Configurator (MHGC) Tools menu and then selecting Calculate shows that only 172 bytes of heap space is used to create the image in the first place:
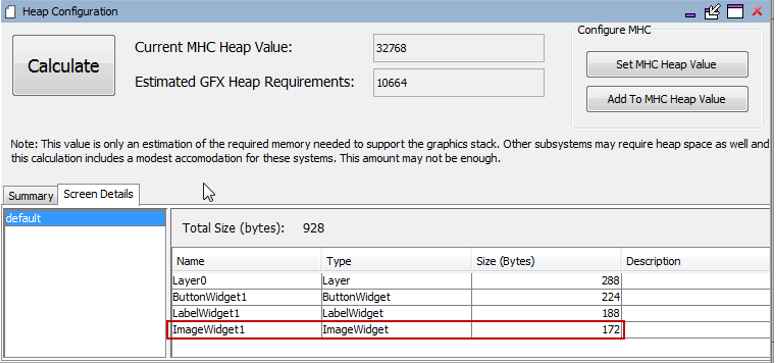
So not much heap space is saved by deleting the image. It is simpler to hide/reveal the image using the visibility property instead. Note that the logo image is stored separately in flash memory.
|
MPLAB® Harmony Graphics Suite
|