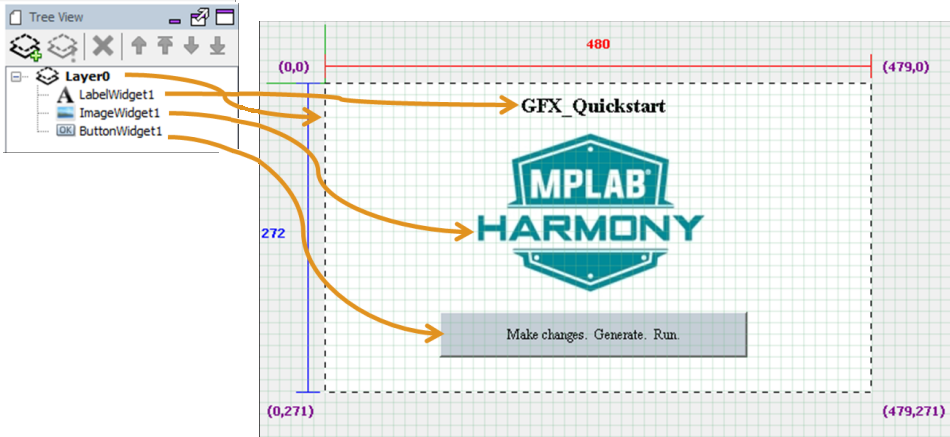
The Graphics Composer Screen Designer shows that there is one layer and three widgets in this demonstration.
Of the three widgets shown above, only ButtonWidget1 can have events associated with it, one for button pressed and a second for button released. This can be seen in the Graphics Composer Event Manager window, which is available from the Tools menu:
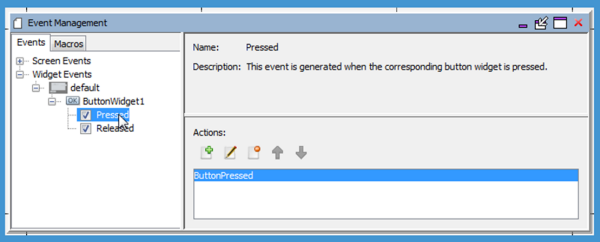
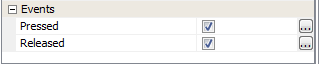
The events shown under “ButtonWidget1” are mirrored in the widget’s properties. Selecting or clearing an event in one window does the same in the other window, thus enabling (selecting) or disabling (clearing) the corresponding event.
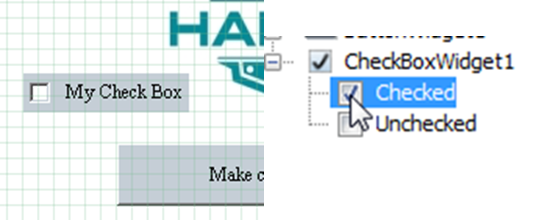
We can add a Check Box widget to the applications display and then use the Event Manager to assign actions to the widget’s events. A Check Box widget has two events, one for being “Checked” (i.e., selected) and another for being “Unchecked” (i.e., cleared). Enabling the “Checked” event then allows the selection of the action or actions for that event.
The Actions: sub-window has five tool icons for managing the actions associated with an event:

Clicking the Create New Action icon (  ) opens the Action Edit dialog.
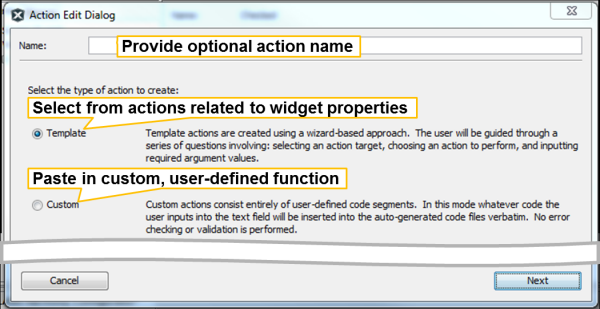
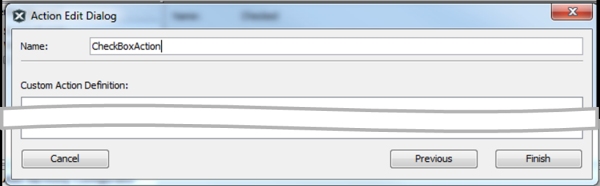
Select Custom and click Next, the user will see the following dialog. Unfortunately, there is no C code error checking with this window. It just copies the code into libaria.c and libaria.h. If there is a problem with the code, the user will not know about it until the user try to build the application. An alternative is just to type a comment such as /*My event goes here*/, generate the code, and then find out where this comment landed in the code. (Typically, inside libaria_events.c, or libaria_macros.c) The user can then write the action routine from within the MPLAB X IDE editor and compile just that file to debug the code written.
If Template is selected, the Action Edit dialog will update, as follows. Select ButtonWidget1.
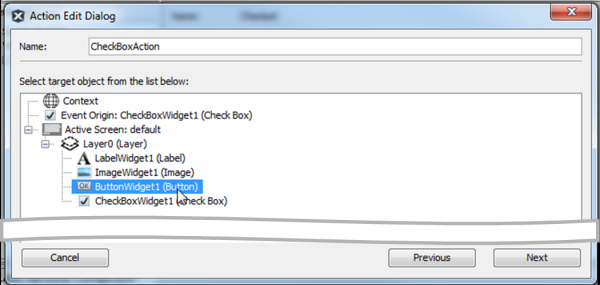
As shown previously, the user next needs to select the widget that if the desire is to manipulate with this action. Note that the event originated with CheckBoxWidget1, but the event’s action can manipulate any of the existing widgets. In this case, ButtonWidget1 has been selected. Clicking Next will then bring up a list of the actions available in manipulating a button widget.
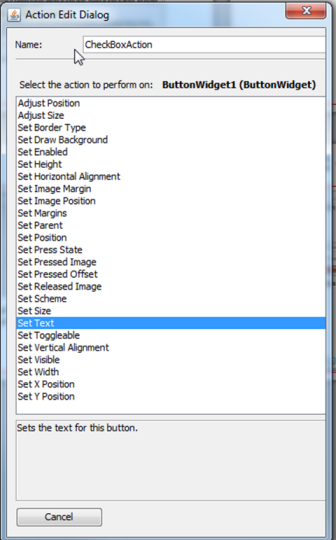
Select the “Set Text” action, which will then change the button’s text property, followed by NEXT, which will open a dialog to select the text string for this action.
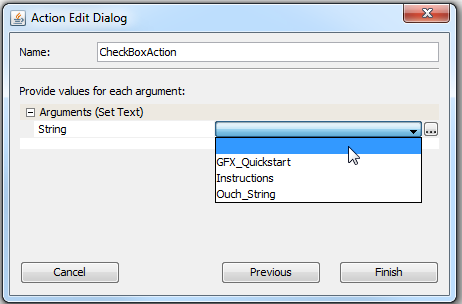
Next, select from the available (already defined) strings which text to use for the button’s text field. Press the Finish button to complete the definition of this action.
|
MPLAB® Harmony Graphics Suite
|