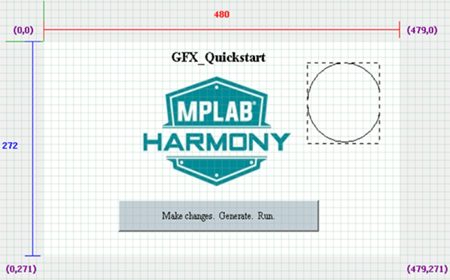
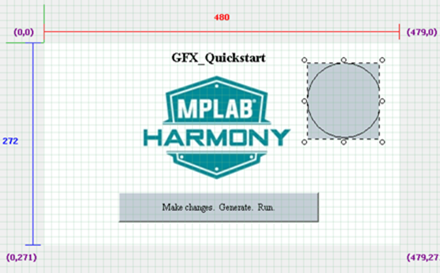
The following figure shows the Screen Designer window for the Aria Quickstart demonstration, with the sam_e70_xplained_ultra_wqvga configuration selected.

The pixel dimensions of the display (480x272) are determined by the MHC Display Manager's Display Settings panel. Other configurations in Aria Quickstart may have different size displays (such as: 220x176, 320x24, or 800x480).
This demonstration has three widgets: a label containing the title string at the top, an image of the MPLAB Harmony logo in the middle, and a button containing the text string “Make changes. Generate. Run.” at the bottom. The label widget’s text string was first created using the String Assets window before it was assigned to the label widget. The image assigned to the image widget was first imported using the Image Assets. The string embedded in the button widget was also created using the String Assets window before it was assigned to the button widget.
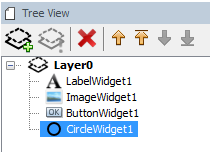
The Tree View panel organizes the display’s widgets into groups using layers. Every display has at least one layer and complex designs can have many more. Within the tree view, the order of layers and the order of widgets within a layer determine the draw order. Draw order goes from top to bottom. Top-most layers and widgets are drawn first and bottom-most are drawn last. Controlling draw order is one of the ways to improve graphics performance by minimizing redrawing.

Since the location of every widget within a layer is relative to the layer, you can move a layer’s worth of widgets by simply moving the layer. Layers also provide inheritance of certain properties from the layer to all the layer’s widgets.
Another widget can be added to this screen by launching the Widget Tool Box panel into a separate window.

Next, drag a circle from the tool box onto the display. Find a place on the display for this new widget.
Besides dragging widgets onto the display, click on a widget in the Widget Tool Box, converting the cursor into that widget, and then click on the screen to drop the widget in place.
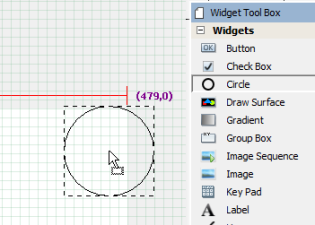
The display should now look appear like the following figure.
Note how the Tree View panel now shows the widget that was just added.
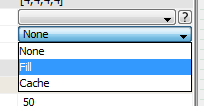
Launch the Properties Editor for the circle.

Next, change the fill property on the circle from “None” to “Fill”.
 Note: Note: |
If the properties in the Properties Editor shown are not for CircleWidget1, click on the circle widget to change the focus of the Properties Window. |
When done, the screen should now appear, as follows.
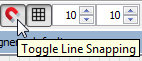
Turn on Line Snapping, which enables drawing guides to assist in aligning widgets on the display.

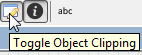
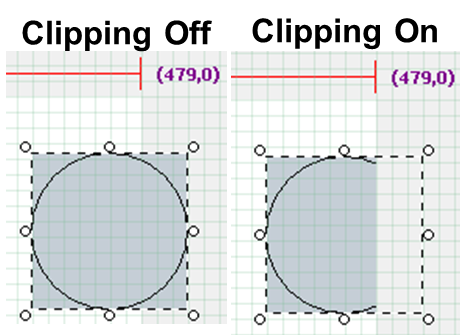
Next, turn on Object Clipping, which shows how the widgets are clipped by the boundaries of the layer that contains them.
Note: Clipping applies to layers, which can be smaller than the display.
To delete a widget, select the widget and press Delete on the keyboard or use the delete icon ( ) on the Tree View panel.
For more hands-on exploration of graphics using the Aria Quickstart demonstration, see MPLAB Harmony Graphics Library Help > Quick Start Guides > Graphics and Touch Quick Start Guides > Adding an Event to the Aria Quickstart Demonstration.
The steps to create a new MPLAB Harmony project with touch input on a SAM E70 Xplained Ultra board with 4.3" WQVGA display can be found in MPLAB Harmony Graphics Library Help > Quick Start Guides > Graphics and Touch Quick Start Guides > Creating New Graphics Applications.
|
MPLAB® Harmony Graphics Suite
|